Using the Content Table
This is the Content Table which allows you to view, edit, delete and manage all the content on your site. This content does not include your menu links or some, mostly static, information on the site. For those you would use with the Administration Menu to navigate to their management pages, or you would use the Contextual Links. The types of Content on your site, and those available on this table, can be found at Content -> + Add content (node/add) shows you a brief description about the content type as well as links to add that content. Lets take a look at how this table helps you manage your content.
- Add content - as noted above this is a link to the Add content page, which gives you a brief description of the types of content which are available on your site. The title of the content is also a link to adding a new piece of content of that type.
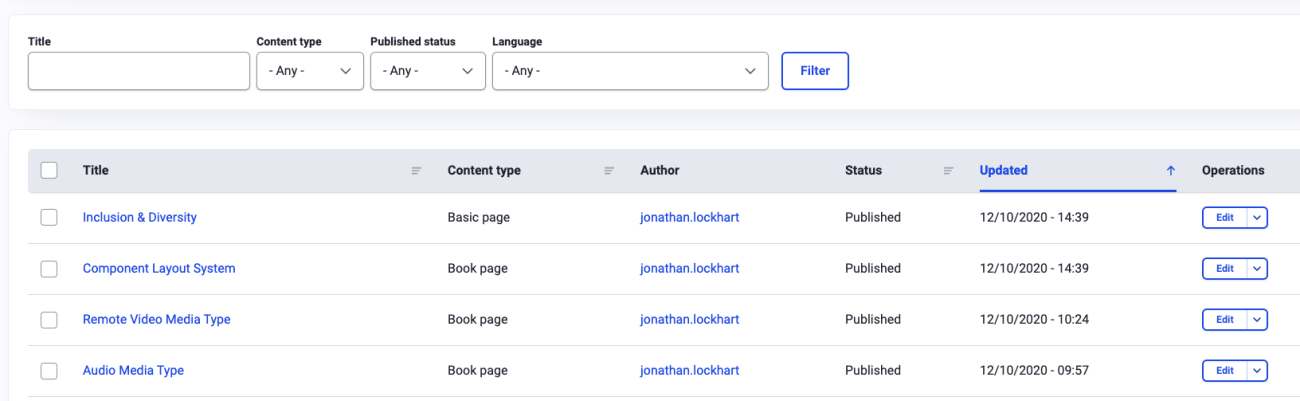
- Table filters - these filters allow you to limit the items shown in the table to only those you want to work with. For instance, if you wanted to work with only the Blog posts on the site you would click on the drop down next to the 'type' label. Select Blog from that list and then click Apply. The table will refresh and only show you the Blog content. Additionally, lets say you've created several Blog articles that you didn't think were ready for site visitors to see and had saved them as unpublished (more on that later). You could further filter the table to show you only 'not published' items. The table will remember what your last selections were so when you want to see all content again be sure to hit the Reset button and the table will go back to its default.
- Update Options - these options, in conjunction with the checkboxes next to each piece of content, allow you to perform several actions on a number of content at the same time. For instance, using the analogy above, if you have several Blog articles that you've created but are still unpublished, you could select those pieces of content using the checkboxes. Then select 'Publish' from the drop down and click Execute. The site will confirm that you want to make that specific change to the selected content. This is a fast way to publish or unpublish content based on whether or not you want site visitors to see them.
- The Table - this table shows you important information about the content, including the title of the content, what type of content it is, who the author is, what status its in (published or unpublished), when it was created and gives you quick operation links. You can sort the table by using the blue column titles, as you can see by default the table is sorted with the newest content shown first. Clicking the blue header title twice will reverse the sort. You can click the name of the content to be taken to that contents page view. The same for the contents author.
- Operations - these two links are quick action links. The Edit link takes you to that content's Edit form.
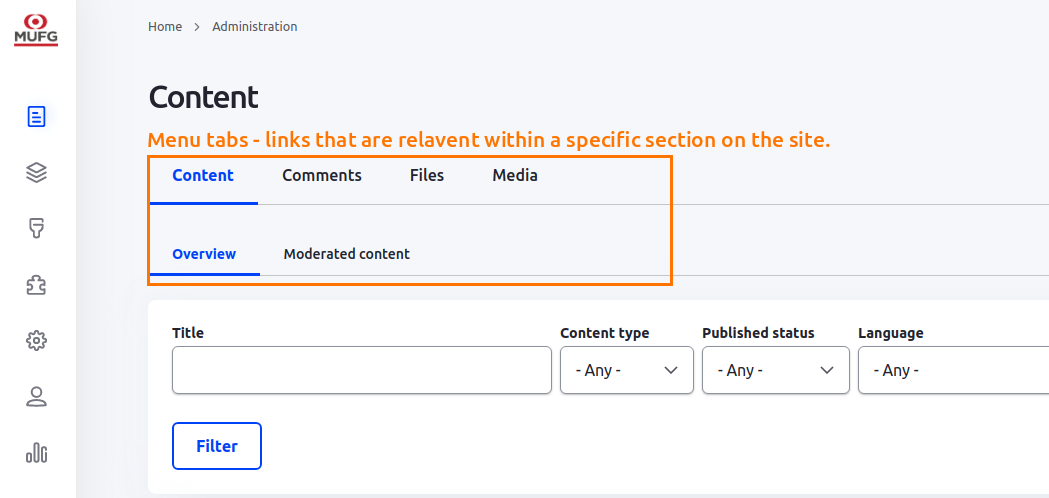
- Content Menu Tabs - these tabs, located above the table, allow you to view and manage other types of content on the site that have a unique role. These primary include the Content Libraries for specific content.