Common Content Settings
There are a number of settings that are common to all the Content types on your site. These allow you to add menu links, manage Author/Date information, and Publish setting. Lets go down the list and take a look at each one. They may not always be in the same order as shown above, and all content types may not have the exact same list.
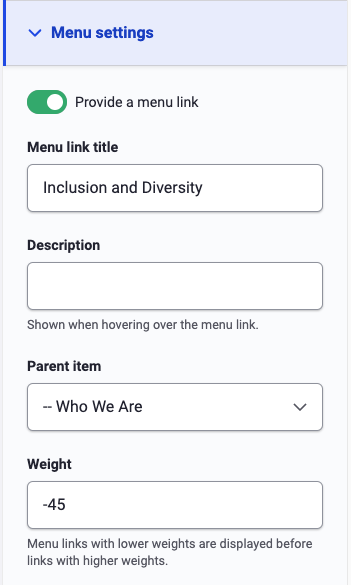
- Menu settings - this form lets you create, or edit, a menu link for this piece of content. This is a fast way to create a link to this piece of content, however managing your menus is often easier on that menus edit page. See Structure -> Menus (admin/structure/menu) and Navigation & Menus in the handbook. To add a link check the Provide a menu link checkbox and you'll be presented with the menu link form.
- Enter the link title as you want it shown to site users.
- It's generally a good idea to give a brief description of the content to be found from this link. This is shown in the tooltip popup when someone hovers over the link, and is often used by screen readers.
- The Parent item lets you select which menu link this link should be under or a child of. For instance if I were to create a new Basic page and want it to show in the About Us drop down I would select About as the parent. This also controls how the URL will be built; for instance who-we-are/our-core-values
- If you know where you want the link to show you can set its weight. The lower the number the higher the link is in the menu and vice versa. Often an easier way to manage the weight for a menu link is to use the Menu edit form and drag 'n drop them in the order you want.
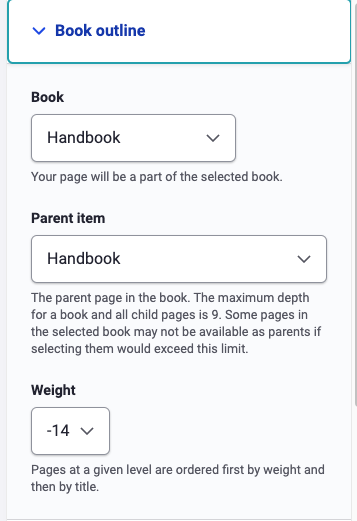
- Book Outline - these settings are limited to only the Book content on the site and can be ignored for all other pieces of content. This form lets you add this Book page to an existing book by using the Book drop down. You can select what page is its parent and where you want it in that section. Often an easier way to manage the weight for a book page is to use the Book outline edit form and drag 'n drop them in the order you want.
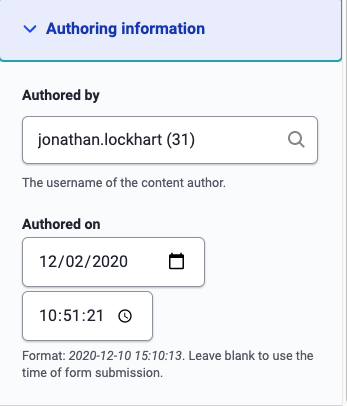
- Authoring information - this sets the Author (owner) of the content and the date the content was created. Both of these fields will automatically be set when the content is created, but you can use these to override the default. This is also how you can reassign a piece of content from one user to another. For instance if an Editor files a report for a Crew member but you want that content to show up as reported by the Crew member you can enter that users account name here.
Menu Settings
Book Outline
Authoring Information