Details about A/B testing
Currently, the site setup is using simple Experience A or Experience B settings. Which at the moment are 50%/50% visibility. You can use URL parameters to see the different sites utilizing ?exp=a or ?exp=b. A/B Testing setting available on Banner Image, Background Image Block, and Text Block.
A/B testing Banner
Step 1
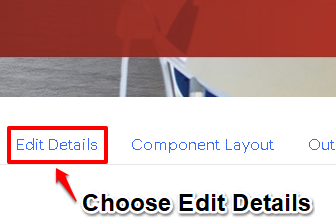
Edit Page
- Once on a basic page look for the edit details tab.
- There are more steps for the Draft vs Published workflow found HERE

Step 2
Add New Banner
- Create a Banner Inside the banner region select the "Add new Banner" button.
- Fill out the Banner fields
Step 3
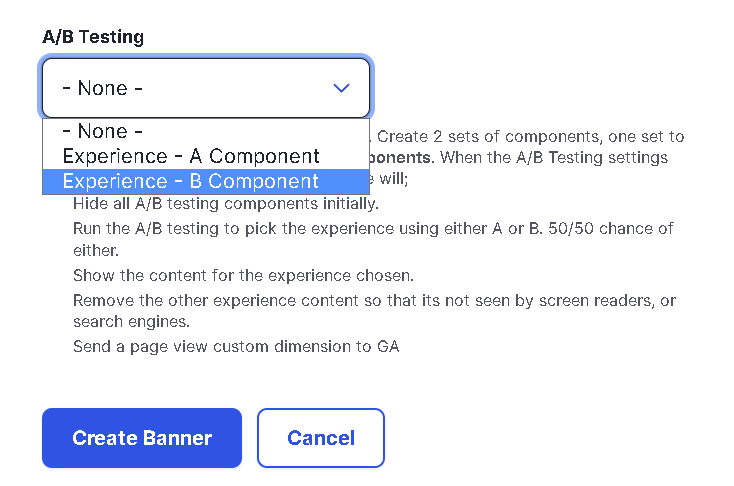
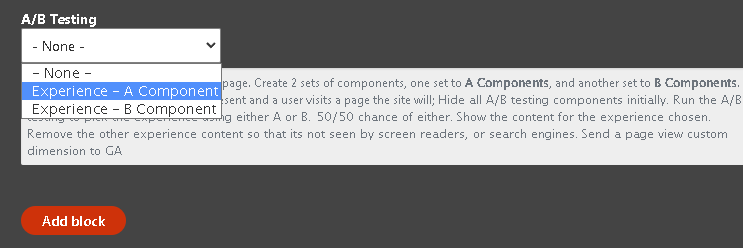
Choose your Experience
- Under the A/B testing dropdown choose either experience A or B.
- Once you choose A or B click Create Banner
- Repeat steps 2&3 for the second Banner. Note: You will need two banners one set to experience A and one set to experience B
A/B testing Background Image
Step 1
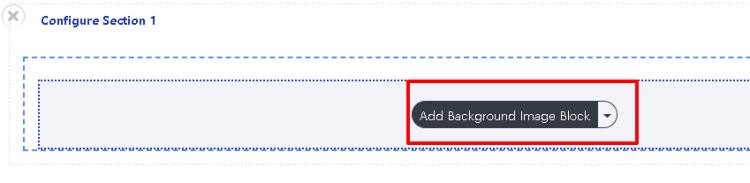
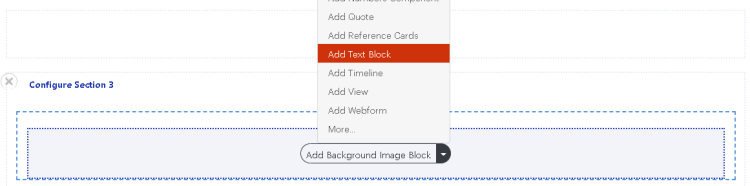
Layout Builder Tab
- Select the Component Layout tab
- Find or create a section and select "Add Background Image Block"
Step 2
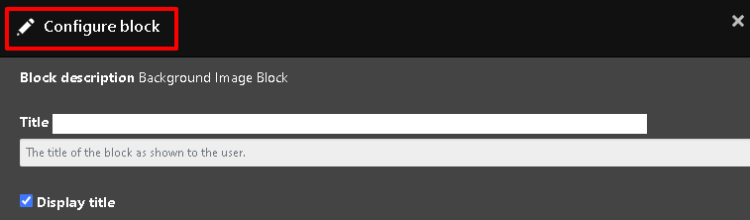
Create the component
-
Once you are in the slide-out window. (Configure block - seen on the top left of the window)
-
Fill out and select desired options and add an image using the "Add Media" button.
Step 3
Choose your Experience
- Click the drop-down and choose either experience A or B
- Submit via the Add Block button.
- Perform steps 1-3 to create the second experience and choose the opposite of your last experience at the dropdown.
A/B testing Text Block
Step 1
Create the Text Block
- Select the Component Layout tab
- Find or create a section and select "Add Text Block".
Step 2
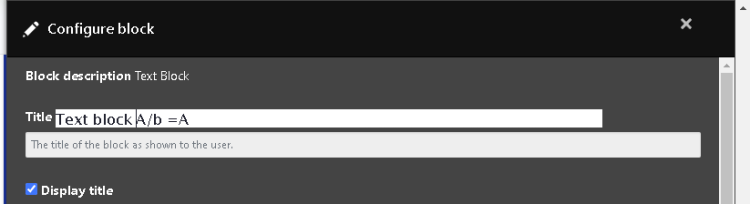
Create the component
-
Once you are in the slide-out window. (Configure block - seen on the top left of the window)
-
Fill out and select the desired options.
Step 3
Choose your Experience
- Click the drop-down and choose either experience A or B
- Submit via the Add Block button.
- Perform steps 1-3 to create the second experience and choose the opposite of your last experience at the dropdown.